Showing posts with label A mini a month. Show all posts

A Mini a month – June project

Since i joined the Mini a month challenge at the beginning of the year -  I have found that the books I make comes in handy for the here or there last minute gift.

This month I challenge myself to use up my scraps and some of those A4 papers that I keep buying at craft fairs but never seem to use up  - no matter how fast I cut them.

I have a dear friend birthday coming up at the end of July and a mini book just seem the natural gift to do for her..

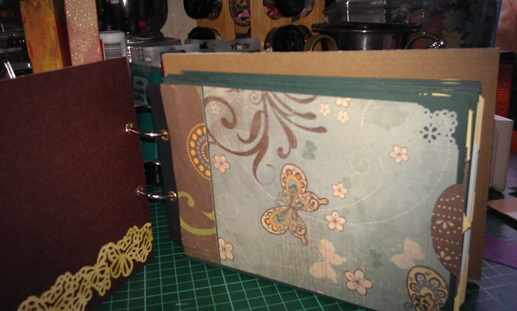
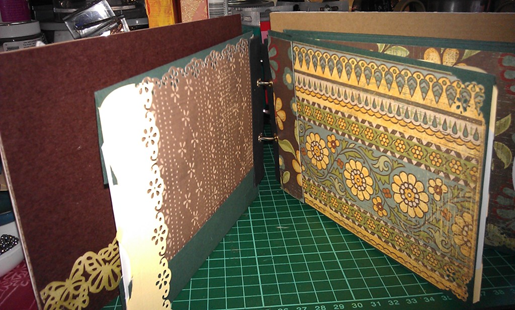
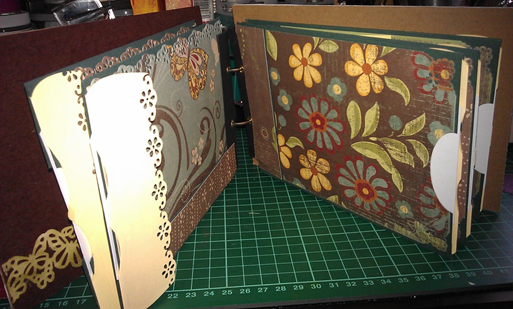
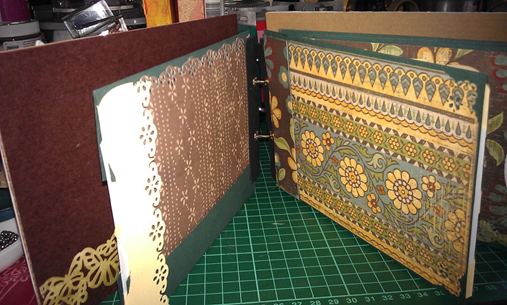
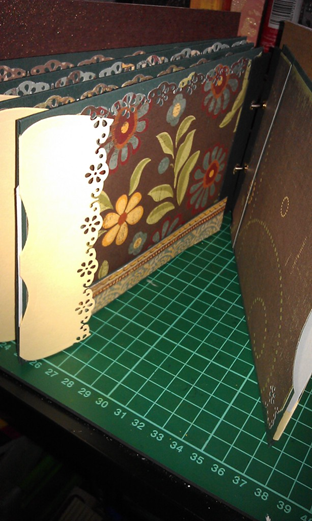
I have pictured the book 90% done as I didn’t want to take photo with the content already in (I have to protect the innocent and all that jazz)…

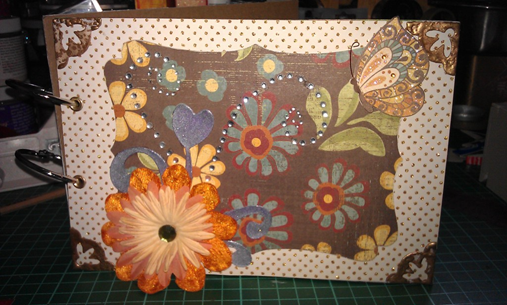
I had fun with this one – My nesties came out to play,  I even found some sizzix corners that I have not seen in years -  literally years…

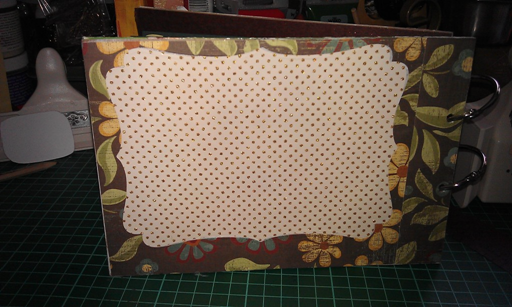
I don’t know the paper line of the floral paper here – but the dot paper are from the stack of paper that came with my Slice – accidentally came upon them, they were perfect for this project.

There is a heavy butterfly presence in this mini and the Martha Stewarts punch also came out to play.

image

The back cover is going to be a personalised piece of paper – so no mat cover on that part of the book.

I went a little overboard with the tag load of edging.

Back page - still need a little something but will figure it out before the big day.

I challenges myself and came up with – A Scrap of a Mini

This mini was just a quick challenge to myself to see how I would get on without my sewing machine – which went on the blink the other day…

So I drag out my scrap box, a set of gel pens, cereal boxes and of course the distress ink and I gave it a go…

For my inspiration I went with a sample book from Art From the Art Idea Gallery,  entitled – 7 Gypsy – Mason Album 

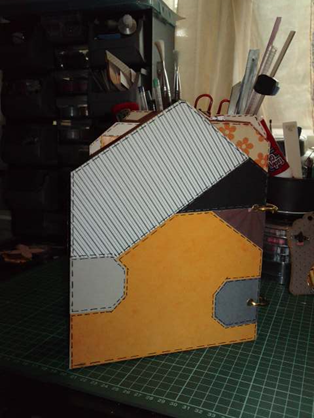
With little scraps of paper here and there and my gel pen to make faux stitching line I went to town on this books. Here’s the cover of the book. As I have not yet decided what to do with it yet – It is yet untitled..

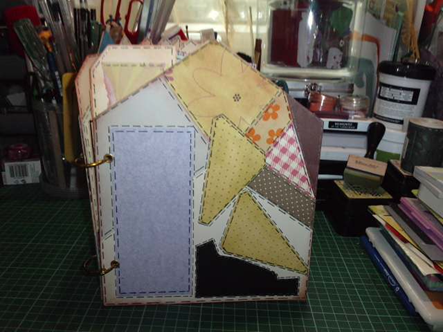
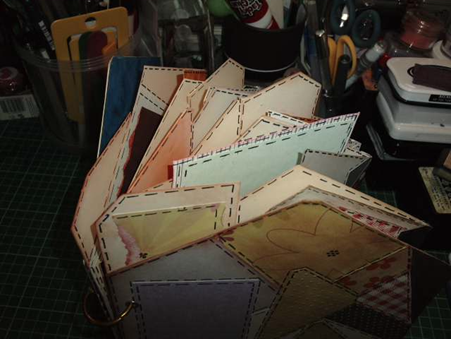
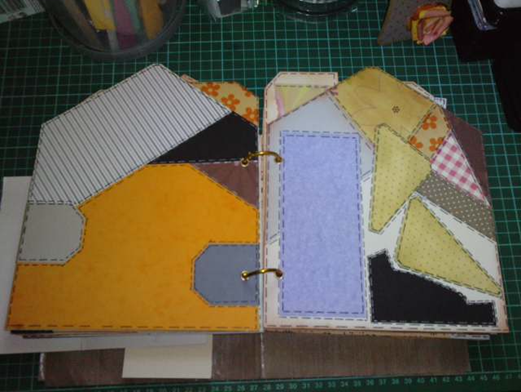
Just an open view of the book. I am using 7inches (width) x9inches (length) house shaped cut-outs to make this book and scraps placed all over it..

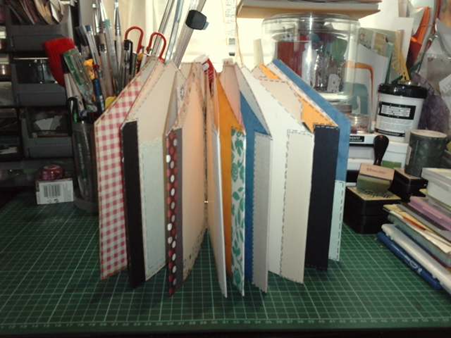
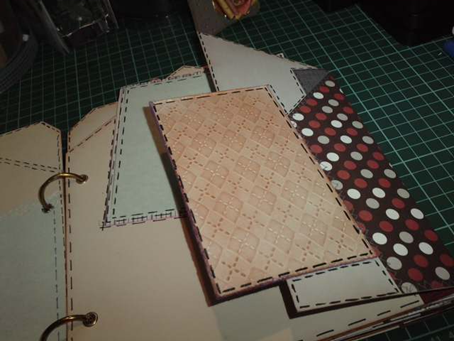
Top view of book – Note the faux stitching- this was all done with the gel pen – It took a little time to do it but so worth it when I saw the end product.

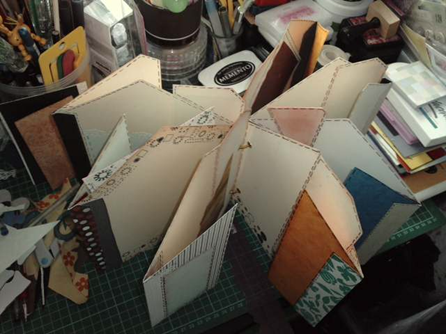
Another top view – I also used some border stamps here and there to add a bit of definition to the pages..

Back page –which turned out to be my favourite page of the lot…

Front and back cover view..

Another page I fell in love with – For the faux stitching I went with the principle that I would add the gel pen lines to all the straight edges – so torn edges didn’t get a stitch line.


April Mini a month - Album Challenge

I finally got around to finishing the squash book which was the April design in the Mini Book a month – hosted by Karen from the blog What's This Then.

Once again I used up a set of those free paper that comes with the Craft magazine (I have so many of these – nice way to use them up)

Karen’s direction is very easy to follow  if you want to have a goo – HERE…

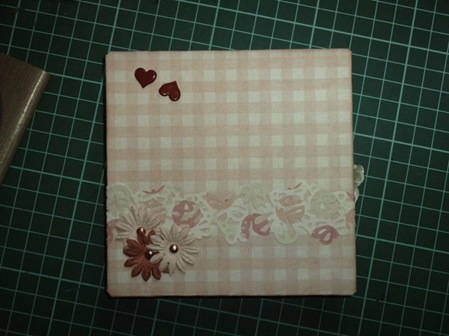
I only deviated on two things from Karen's guidelines – for my pattern paper  I cut them an 1/8 of an inch lower than the amount required as I like that plain border edging to my project.

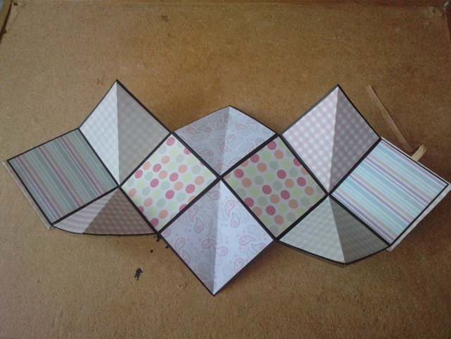
A view of the book all opened up.

This is where my second deviation takes place - after putting the ribbon through the back page of the book, I didn’t 'like it coming over the side and tie at the top of the book.. – so I got a little creative and did something different.

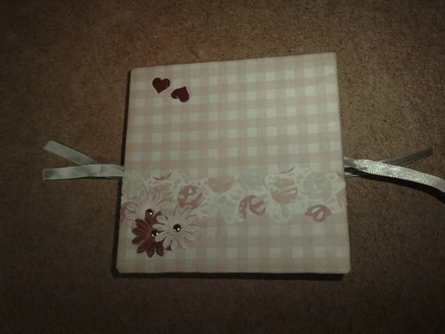
Using two shorter pieces of ribbon  – I placed those between the front covers and the pattern paper – so I have two independent ties at the sides – rather than how it was before with long loop of ribbon that tied across the front.

Finished product – note the ribbon is tied really close to the body of the book..

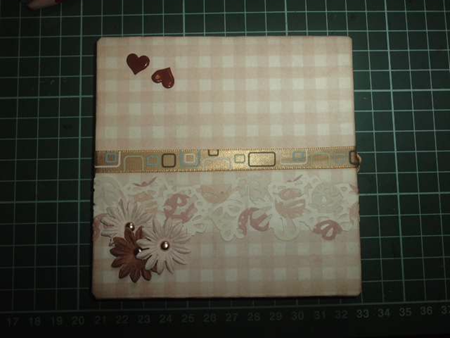
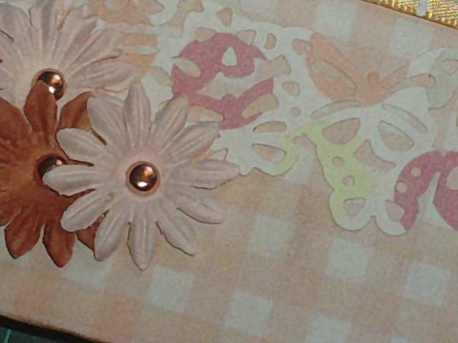
I haven’t decided what I am going to do with it yet – so nothing is written on the front but I imagine I will add a few more embellishment and such to it, but in the mean time here is a close up of the decoration – I am using the Martha Stewart  butterfly lace punch and the prima flowers.


AMAM – January project

The challenge .. Make a mini from

  • 4 envelopes – these can be any size or color, the smaller the envelope obviously the smaller your book will be and the larger the envelope, the bigger your book must be. They do all need to be the same size though, to start with anyway!!
  • 2 pieces of plain cardstock cut to the same size as the envelopes (the CS needs to be reasonably thick – I used mount board, chipboard would work well too).
  • Patterned papers to cover the above card on both sides – two pieces will need to be slightly bigger than the card (to cover the outside front and back covers), the two other pieces need to be the same size as the card/mount board/chip board.
  • A piece of normal cardstock, as wide as the envelopes and 12" long, try to find a color that matches your PP’s if you can.
  • A length of ribbon. It’s hard to give an exact measurement on this but I used a metre and then trimmed it down at the when the book was finished .
  • You will also need a selection of coordinating pattern papers to embellish the inside of your mini book, plus a selection of embellishments. You can use stamps as well, buttons, odd bits of ribbon, die cuts, punches, blossoms, chipboard, etc, etc.

and following Karen’s basic instruction HERE I had a go myself…


Front view of the book… I have no idea what I am going to call it or even put in it, but I will admit I am glad my mojo is back – it was fun putting this together.

The original plan was to go with some funky designer paper over the envelopes – but the retro bug bit me and I just went with the flow..

I went with retro - circle and stripes all through the book – I probably was a little lazy not to make the effort and try to co-ordinate some colours sheets, but I love the retro look…

Midway through – still no idea for the cover

Because I had no idea what the book was going to be used for – the cover proved to be hard going – so I moved on and did up the enveloped themselves….

Using the oval Fiskars punch I made some tabs on the envelops and using just plain 4x6 card stock I added some tags to the project with opposing cardstock pull tab on the side to fit into the slot on the envelopes..

Close up of striped page

Close up of circle page

View of another page together

Following Karen’s instruction I had dragged out a Sizzix texture plate and I thought it would make a great addition to the front cover… I added it just at an angle and also used the embossed paper through the scallop punch…

The book so far

A closer look – That’s where I have left it – as soon as I figure out what I want to do with it I will add some words to the front and a few other bits and pieces – but for now I am OK with it as it is….

I will make this book again as there are something that can only be learn from trial and error and definitely I have things I will leave out in the future and bits I am quite chuffed turned out so well..

and lastly it was nice to reacquaint my self with my tools – I literally forgot I had those texture plates…

 

A mini a month 2011 challenge….


A new challenge for 2011 – A mini a month, hosted by Karen from What’s This Then blogspot…

The general rules are…

  • The challenge will officially start on the 3rd January 2011 when a prompt/theme along with a few ideas plus some supporting words/quotes will be posted up on my blog.
  • On the second week I will  put up a list of supplies that you will need to make your project for that specific month.
  • At the beginning of the third week I will then put up step by step instructions on how to make the mini book, along with photos of how I made mine and also my finished book.
  • This will then give you two weeks to put your book together, so no pressure involved as you can just do a little as and when you like.
  • The prompts will always go up on a Monday so we will always know exactly where we are IYKWIM!!!
  • There are no rules to follow, well actually yes there are two rules LOL!!!
  • Rule #1 - No new stash to be bought for the project!!!!
  • Rule #2 - Please enjoy and have lots of fun!!!

Which makes it all nice and easy to follow ….

Jump on Karen's blog if you need more info on the project as well as have a look around, you‘ll be surprise and you just might find something new or even get refreshed on something's you have probably forgotten….