I am a hoarder of craft scraps and I dream of ways to use them up – I would hate to think that all crafters are like me – but from moseying around the web I fear there might be alot of me’s out there.
Journaling spots is one of the fun ways of using up rather small and oddly shaped pieced of scraps.
This week I am on a stencil and embossing high so thought I would do a few to use with a few upcoming projects.
Begin
- Start off with any pieces of scrap paper – your choice of size (In the past I have used pieces ranging from 1” x 1” to 1.5” x7'”) the dimensions are yours to chose.
- If you decide to make 6 Journaling Spot – you should have 12 piece of paper of the same shape and size for this project.
- Take 6 pieces and lay them flat
- Colour the paper (ink, acrylic or plain if so desire) to your colour choice
- Dry - heat tool can be used here
- Place paper in desired design embossing folder and run through your die cut machine (be sure to place the paper correctly to feature the side you want to highlight – embossed or debossed)
- Take shape out of folder and use a small amount of diluted acrylic paint or lightly inked dauber and run over embossed areas of the project.
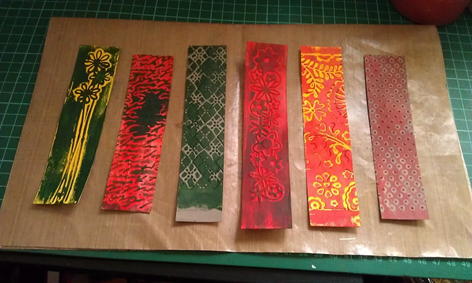
At this stage a Heat tool can be used to dry project or left to dry on it’s own.
On mine I have added a dab of bronze over the entire thing – as I love the overall effect that metal acrylic paint gives to a project. (this is optional however)
Chose preferred choice of glaze ( I am using Pritt Kidsart Clear Glaze on this project) or varnish and cover entire project and leave to dry – DRY ON A FLAT SURFACE AND DO NOT HEAT DRY.
Once dry cut off excess glaze or varnish from edge
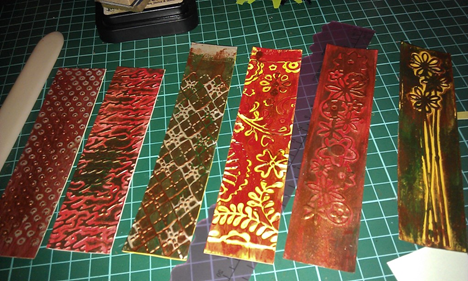
While the first set of papers are drying –work on your journaling spots with the second set . Used lines, templates. stamps or even free hand to make writing areas.
Colour as needed and be eclectic – be funky, or tie into the theme that your project is about. With these particular Journaling spots I am going for a messy look.
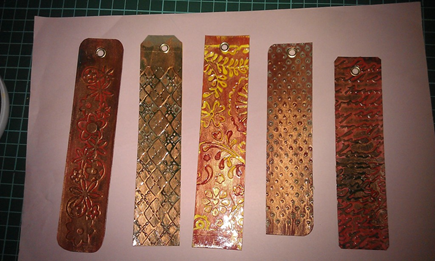
Paste the two shapes together with TACKY GLUE – do not use hot glue or double sided tape, for the following reasons
- You need the glue to flow right to the end of the paper to get a perfect seal.
- Hot glue will not give as flat a finish as wet glue.
- You need a spreadable glue so as to get enough into the grooved left during the embossing process to ensure perfect sealing.
- The wet glue allows you a little leeway to join the pieces together properly – which I don’t thing tape affords you.
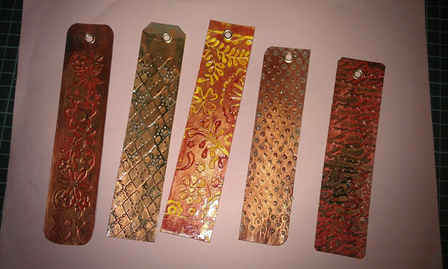
Shape and colour the edges and finish off with an eyelet.
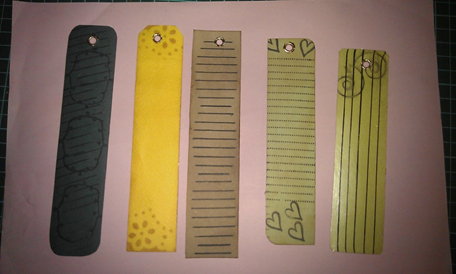
Journaling area
Here are some possibilities
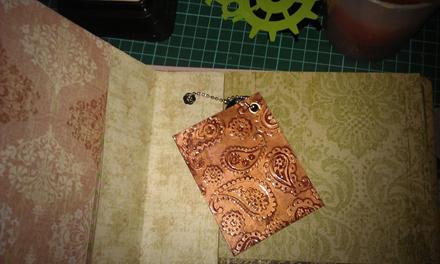
Front
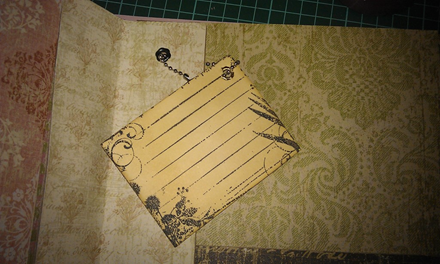
Back
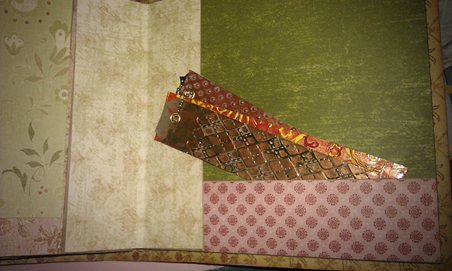
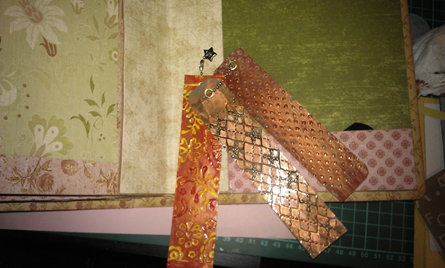
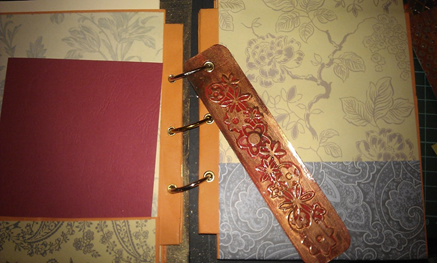
Have fun digging into your scrap box..


3 comments:
These are gorgeous, thank you for sharng
These look fabulous and I love to have bits hanging on my pages so guess who is going to be playing later?? Thanks for the tutorial!!
Great ideas for using up bit usefully - I'm forever looking for journalling spots for my layouts and for using up leftovers - this idea covers both problems. Thanks for sharing. Elizabeth
Post a Comment